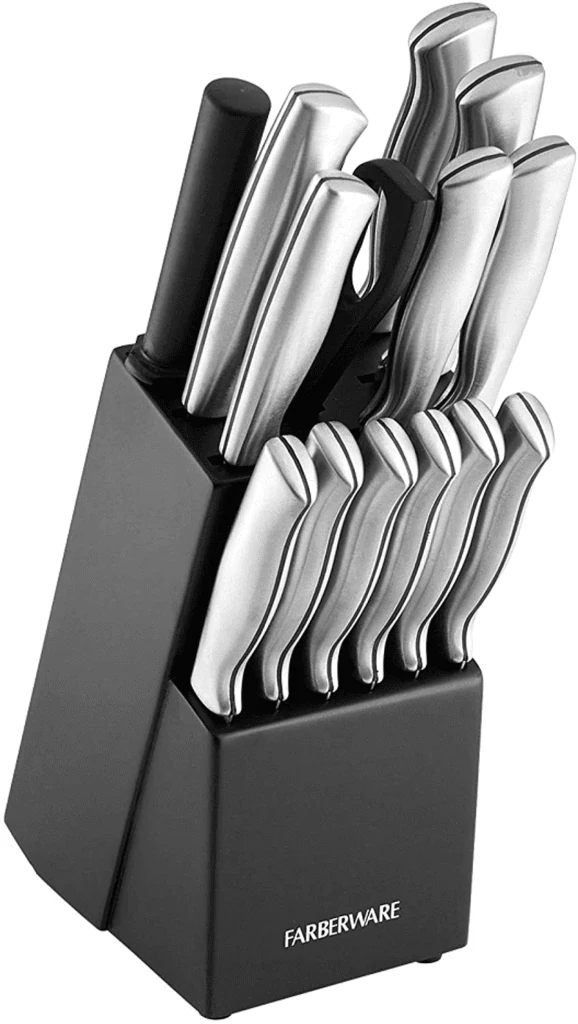
A kitchen knife is an essential tool in any kitchen, but it’s no use to you if it isn’t nice and sharp! Thankfully, there are many solutions to this problem. From sharpening rods to knife sharpener blocks, there are a wide variety of tools available today to help you sharpen knife blade with ease.
However, you may not have the budget to buy accessories like a sharpening rod or sharpening stone or pay for professional sharpening services. If that’s the case, there are no worries! You can still fix a dull blade and maintain your knife’s sharpness using common household items.
To sharpen a knife without a sharpener, all you have to do is find a surface where you can rub the edge of your blade along it at an angle, to grind down the metal. Any hard surface such as stone and ceramic, or something grittier like sandpaper, has the capability to sharpen a knife’s edge.
With the right technique, you can have a sharp knife without buying any fancy tools! These techniques should work on all kinds of knives, including a pocket knife, chef’s knife, Japanese knives, and even scissors. However, we don’t recommend them for a serrated knife or a ceramic knife.
Ways to Sharpen A Knife Without a Sharpener
Ready to give your knife a sharp edge? Here are some of the most effective ways to sharpen a knife, without the use of a knife sharpener:
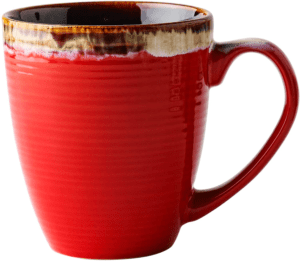
1. A Coffee Mug
It may sound strange, but trust us—it works!
While the edges of mugs can be fragile, the bottom is sturdy and strong. By running your knife blade along the bottom of a ceramic mug, you can grind your dull knife blade to a sharper state.
Here’s how to get it done:
Step One: Get Your Mug
Find a mug with a solid, circular bottom. For the best results, the bottom of the mug should be a little rough and textured.
Step Two: Place Mug on Table
You’ll want to place your mug on the table upside down, on top of a piece of cloth, rubber, or even a wood cutting board. This will prevent the mug from sliding while sharpening.
Step Three: Drag Blade Across the Mug
To sharpen, place your knife at an approximate 10° angle on the surface of the bottom of the mug. Once in this position, drag the full length of the blade across the surface.
Step Four: Repeat on Other Side
You’ll want to repeat this process on the other side of the blade. Continue to run your knife along the mug surface, alternating sides of the blade, until the edge is sharp.
BUY HERE
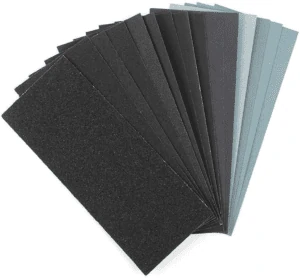
3. Sandpaper
Sandpaper with a fine grit is another great tool for sharpening steel! It’s an inexpensive option when looking for a way to get a blade sharp. (If you don’t have sandpaper, you can also do the same process with a nail file.)
Step One: Secure Sandpaper on Surface
First, you’ll want to take your sandpaper and secure it on a flat surface, such as a table, cutting board, or even a large, flat stone.Secure with tape if needed.
Step Two: Place Knife on Paper at Angle
Next, take your knife and place it on the sandpaper, holding it at a 10° angle.
Step Three: Stroke Blade Along the Paper
Next, you’ll want to stroke the full length of your knife’s blade across the paper, maintaining its angle.
Step Four: Repeat Process on other Side
Finally, repeat this process for the other side of the blade. Repeat in equal amounts on either side of the knife, until the knife edge is sharp.
BUY HERE
3. A Rock
A rock is great for your knife sharpening needs! Go for a walk, find yourself a large rock with a flat surface, clean it up, and say hello to your new knife sharpener.
Step One: Find a Rock
As we said above, you’ll want to look for a flat rock. It should be large enough where you can run the length of your knife blade across its entire surface.
Step Two: Get it Wet
This is important if you’re going out to find your rock in nature. You’ll want to clean your rock with water to keep it sanitary, and get it moist/ Professional versions of this hack, like using a whetstone or water stone, need this as well.
Step Three: Run Knife Along the Rock
Next, place your knife blade at a 10° angle on the rock’s surface, then run the full length of it across.
Step Four: Repeat on Opposite Side
Repeat the process on the other side of the blade, running it along the surface of the rock at a 10° angle. Do this until your chef’s knife is nice and sharp.
4. Another Knife
Those who like an organized kitchen probably don’t want to fill their drawers up with tools like knife sharpeners, so why not learn to sharpen your knife with another knife! Doing this process wrong can damage your knife blade, but done right, makes sharpening easy.
Step One: Grab Your Knives
First, grab the knife you want to sharpen, and a knife you want to be the sharpener. The knife you are sharpening should go in your left hand, and the sharpener should be in the right. Hold them in a way where both blades are turned to the right.
Step Two: Position the Knives
You’ll want to take the knife you’re using as a sharpener (the one in your right hand) and place it on the blade edge of the knife you are sharpening (in your left hand) at a 10° angle.
Step Three: Run Knife Along the Blade
You’ll then want to run the knife you’re using as a sharpener along the length of the blade of the knife you are sharpening, away from yourself.
Step Four: Repeat on Opposite Side
You’ll want to flip the knife you are sharpening over, to run the blade along the opposite side. Repeat this process on either side of the knife, until sharp.