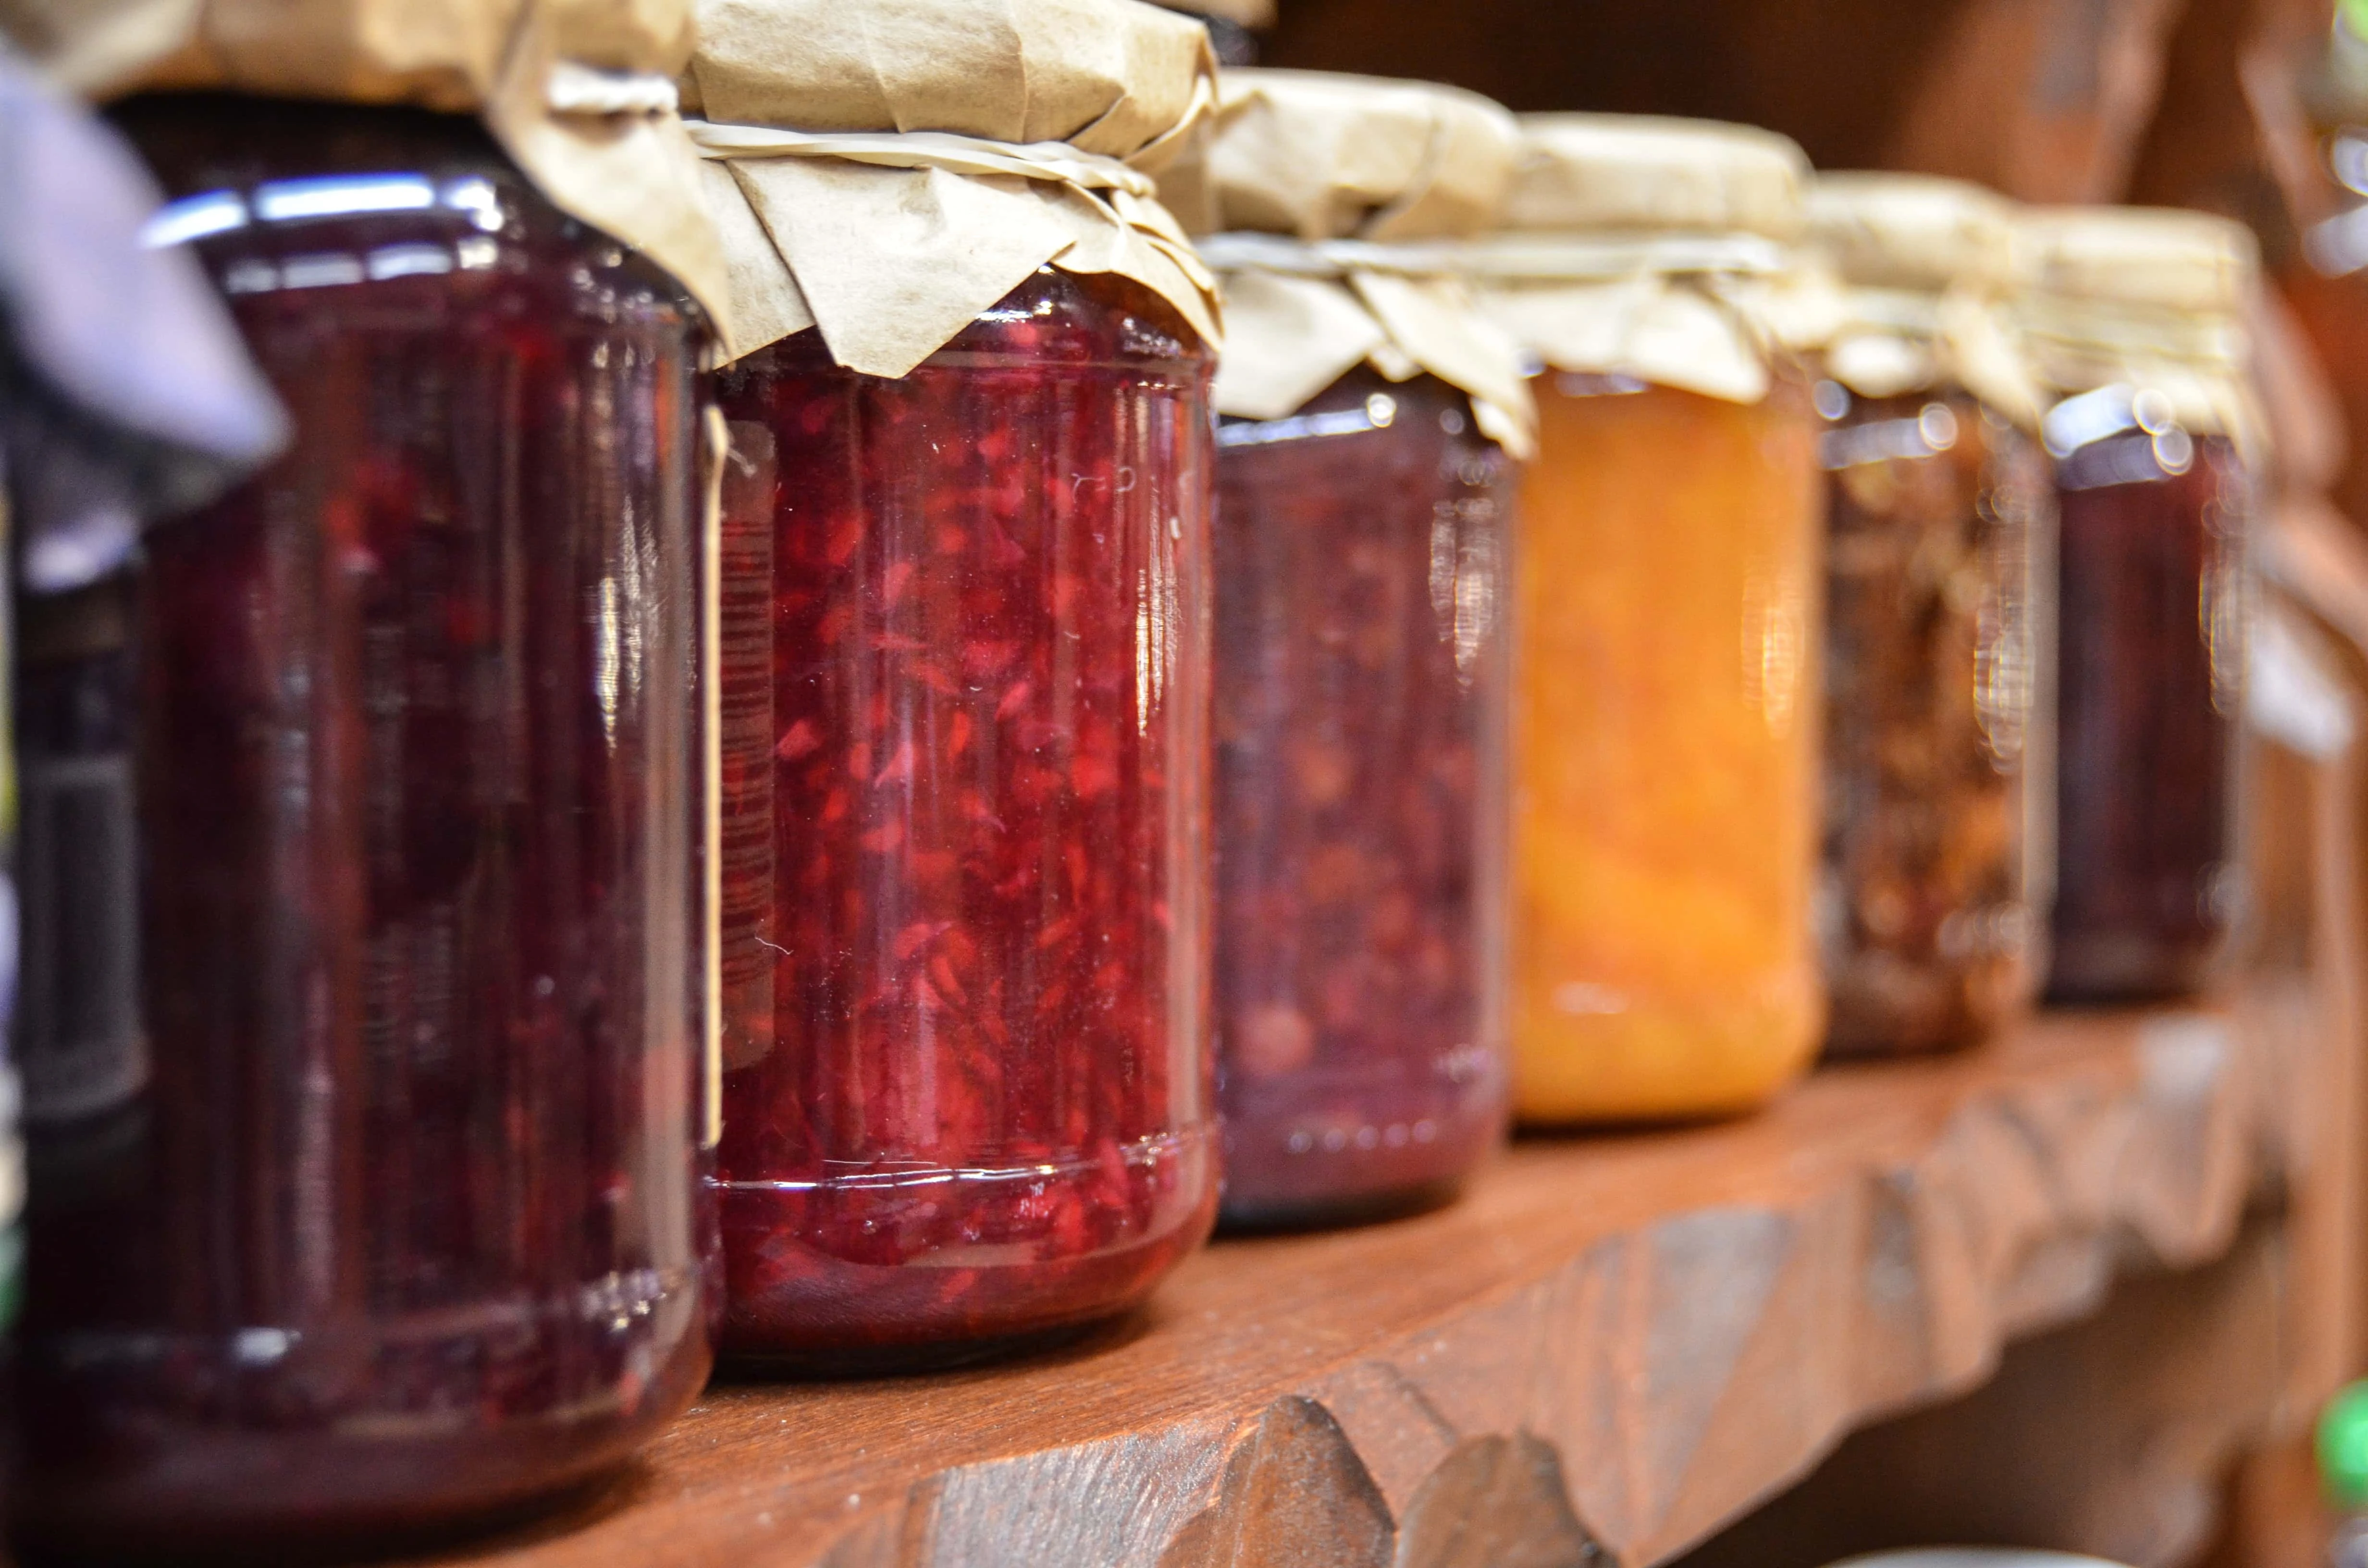
Have you ever gone to a farmer’s market and tried (or bought) homemade jam? As you tasted that wonderful fruit flavor, did it cross your mind that you could make something just as delicious? This is everything you need to know about how to make jam at home!
Making and canning your own jam is the best, and it’s easier than it looks. However, the process of canning can feel intimidating, even for professional chefs.
But once you’ve mastered this canning technique, you can make much more than just jam or fruit preserves. You can can your own pickles, whole fruits and vegetables. This is a great way to preserve produce so it lasts all year long. Once you learn the basics of canning, you will be unstoppable!
Get started now with this step-by-step guide on how to make jam at home.
How to Make Jam
Ingredients
The ingredients you need to make jam are easy to get and can be found at any grocery store. Here are the ingredients for this jam recipe:
- 3 cups granulated sugar
- 3 pounds of plums*
- Make sure you wash the fruits thoroughly, pit, and quarter them before use.
- 1 tablespoon lemon juice
- 1 teaspoon coarse salt
*You can use apricots, peaches, nectarines, or any other stone fruit. Berries, including blueberries, strawberries, and raspberries also make excellent homemade jam. Or, feel free to mix different varieties of fruit to find a flavor you love!
Equipment to Make Jam
There are some specific kitchen tools it’s necessary to have in order to safely can jam. You probably have a number of them in your kitchen arsenal already. If you don’t have all the needed items, they can be purchased at most stores that sell kitchen products.
Here is the equipment to find before you start making jam:
- Canner Pot
- This is a special type of pot used to seal the jars you put the jam in. It’s a very large pot with a lid. Inside is a special metal rack that holds canning jars in place so they do not crack or move around too much during canning.
- Pots to cook the jam itself
- Ladles and large spoons
- Jars (Mason jars or similar)
- Lids
- Lid bands
- Jar funnels (optional)
- Measuring tools
- Potato masher
- Jar lifting tongs/jar grabbers
- These are used to lift the hot jars.
- Canning rack (You can use a cake cooling rack.)
- Labels
- Dishtowels
Process Steps to Can Jam
Now that you have your ingredients and canning equipment at the ready, you can start the jam-making process. Simply follow these steps.
Step 1: Sanitize your jars and lids
First, thoroughly clean the jars, bands, and lids with soap and very hot water. The equipment must be totally sanitized before you start canning. Rinse off any soap thoroughly.
Dry your bands and separate them from everything else. Place your jars in a large canning pot and cover them with water. Bring the water to a simmer, and leave the jars there until you need to use them. Do the same to the lids in a separate pot. This step removes any potentially harmful bacteria on the jars.
Step 2: Mix your ingredients in a large pot over high heat.
Having already washed, pitted, and quartered your fruit, place it in a large pot along with the lemon juice, sugar, and salt. Next, bring the mixture to a boil as you mash the fruit with a potato masher.
Step 3: Boil the mixture as your stir
Once the fruit is well mashed, bring it to a boil and cook for 10 to 12 minutes. As it cooks, use a ladle to skim any foam off the surface of the liquid and discard.
Step 4: Pick the skins out of the mixture and discard them
The mixture should cling to the spoon and be thick enough to fall in clumps when you scoop some out of the pot. Net, use a spoon to fish out the fruit skins and discard. You can also pass the mixture through a strainer to remove more of the texture if you like.
Step 5: Lift the jars out of the water
Take the jars out of the pot using the jar tongs/grabbers (they will be very hot!). Drain the water out of them. Make sure they are still hot. Otherwise, the jars might crack and break when putting the hot jam in them or when they are put in the canning pot later.
Step 6: Ladle the hot jam into the hot jars
Fill each jam jar with the homemade fruit mixture. You can use the jar funnel to avoid spilling the jam and creating a sticky mess. Ensure you leave at least a half-inch of space from the top of the jars.
Step 7: Set the lids on the jars and tighten the bands around them
While being careful not to burn your hands, set the lid on the jam jar, centering it. Then, keeping the lid in place, put on the lid band and tighten it just until you are met with resistance. This is known as making the lid “fingertip tight”. Do this with all of the jars. It does not need to be super tight, but should be secure.
Next, wipe off any spilled jam on the outside of the jars using a damp cloth.
Step 8: Lower your filled jars into the canner with water using the tongs
The water in the canner should be 3 inches deep. Place the jars inside the canner. Cover the canner and bring the water to a rolling boil. Let the water boil for 5-10 minutes for each half a pint of water.
Step 9: Remove the canner from the heat
Let the canner cool for at least five minutes before removing the jars. Do not try to cool the canner by adding cold water or opening the canner pot’s vent. It needs to cool naturally in order to ensure the jar lids seal properly.
Most modern canner pots have a pressure gauge on them. You shouldn’t open the vent or take the lid off the canner until the pressure is down to zero.
Step 10: Remove the jars from the canner
Once the canner pot is depressurized, open the vent and wait another 10 minutes or so. Then, being careful of the steam, you can open the canner lid.
Using the jar tongs, remove the jars one by one and set them on a canning rack or clean dish towels. Never place the jars straight on your kitchen counter. They may crack due to sudden temperature change. Let the jars cool for 12-24 hours. You can loosen the rings a bit.
Step 11: Once the jars are cooled, check to ensure they are vacuumed and adequately sealed
The lid should be sucked down. Press the middle of the lid with your finger. If it pops back up the lid is not sealed, and you need to reseal it before storing.
Step 12: Wipe your jars using a clean dishcloth, label appropriately, and store in a dark, cool place
After cleaning off any jam that might have escaped its jar, remember to stick a label on each jar. You should write what’s inside each jar and the date that you made the jam. This way you don’t get confused later on, especially if you end up canning some more. Remember to rotate through your canned items based on the dates you made them so that you can eat them before they go bad.
Time to Jam with Your Jam
And there you have it! You’ve successfully learned how to make jam. And you’ve learned a skill that you can use for canning food in general. So, go ahead and indulge yourself with some fresh, homemade jam. And the best part is that you have multiple jars’ worth, so your little bit of hard work will be paying itself off for a long time.
How to Make Jam
Equipment
- Canner Pot
- Pots to cook the jam itself
- Ladles and large spoons
- Jars (Mason jars or similar)
- Lids
- Lid bands
- Jar funnels (optional)
- Measuring tools
- Potato masher
- Jar lifting tongs/jar grabbers
- These are used to lift the hot jars.
- Canning rack (You can use a cake cooling rack.)
- Labels
- Dishtowels
Ingredients
- 3 cups granulated sugar
- 3 pounds of plums or other fruit thoroughly washed and cored
- 1 tablespoon lemon juice
- 1 teaspoon coarse salt
Instructions
- First, thoroughly clean the jars, bands, and lids with soap and very hot water. The equipment must be totally sanitized before you start canning. Rinse off any soap thoroughly. Dry your bands and separate them from everything else. Place your jars in a large canning pot and cover them with water. Bring the water to a simmer, and leave the jars there until you need to use them. Do the same to the lids in a separate pot. This step removes any potentially harmful bacteria on the jars.
- Having already washed, pitted, and quartered your fruit, place it in a large pot along with the lemon juice, sugar, and salt. Next, bring the mixture to a boil as you mash the fruit with a potato masher.
- Once the fruit is well mashed, bring it to a boil and cook for 10 to 12 minutes. As it cooks, use a ladle to skim any foam off the surface of the liquid and discard.
- The mixture should cling to the spoon and be thick enough to fall in clumps when you scoop some out of the pot. Net, use a spoon to fish out the fruit skins and discard. You can also pass the mixture through a strainer to remove more of the texture if you like.
- Take the jars out of the pot using the jar tongs/grabbers (they will be very hot!). Drain the water out of them. Make sure they are still hot. Otherwise, the jars might crack and break when putting the hot jam in them or when they are put in the canning pot later.
- Fill each jam jar with the homemade fruit mixture. You can use the jar funnel to avoid spilling the jam and creating a sticky mess. Ensure you leave at least a half-inch of space from the top of the jars.
- While being careful not to burn your hands, set the lid on the jam jar, centering it. Then, keeping the lid in place, put on the lid band and tighten it just until you are met with resistance. This is known as making the lid “fingertip tight”. Do this with all of the jars. It does not need to be super tight, but should be secure. Next, wipe off any spilled jam on the outside of the jars using a damp cloth.
- The water in the canner should be 3 inches deep. Place the jars inside the canner. Cover the canner and bring the water to a rolling boil. Let the water boil for 5-10 minutes for each half a pint of water.
- Let the canner cool for at least five minutes before removing the jars. Do not try to cool the canner by adding cold water or opening the canner pot’s vent. It needs to cool naturally in order to ensure the jar lids seal properly.
- Most modern canner pots have a pressure gauge on them. You shouldn’t open the vent or take the lid off the canner until the pressure is down to zero.
- Once the canner pot is depressurized, open the vent and wait another 10 minutes or so. Then, being careful of the steam, you can open the canner lid.
- Using the jar tongs, remove the jars one by one and set them on a canning rack or clean dish towels. Never place the jars straight on your kitchen counter. They may crack due to sudden temperature change. Let the jars cool for 12-24 hours. You can loosen the rings a bit.
- The lid should be sucked down. Press the middle of the lid with your finger. If it pops back up the lid is not sealed, and you need to reseal it before storing.
- After cleaning off any jam that might have escaped its jar, remember to stick a label on each jar. You should write what’s inside each jar and the date that you made the jam. This way you don’t get confused later on, especially if you end up canning some more. Remember to rotate through your canned items based on the dates you made them so that you can eat them before they go bad.