Learn how to cook corn on the cob in the oven so that it’s sweet, crunchy, and fresh-tasting every time,.
When summer rolls around and it’s sweet corn season, there’s nothing better than a buttery and sweet ear of corn on the cob with dinner. However, this veggie can be easy to over-or under-cook. To avoid common mishaps from cooking corn on the cob, follow the instructions below for perfectly crisp and sweet corn every time.
How do you cook the perfect corn on the cob? Start by finding fresh corn, roast the corn for about 25 minutes, and then season.
Summer has arrived and with it, high temperatures, outdoor adventures, and celebrations with family and friends. Best of all? Sharing outdoor meals around a fire or grill: barbecues are synonymous with summer and fun.
Whether you have tons of outdoor space to gather with family and friends or a smaller apartment that’s just the right size for two, now is the time of year to enjoy fresh produce cooked to perfection.
Most people hear the word barbecue and relate it to a meat-heavy feast, but your next outdoor get-together can be much more than that. In countries in North and Central America, there is another culinary tradition celebrated around the grill: cooking corn on the cob.
History Of Corn
Corn is an ancient ingredient that has been cultivated and consumed all around the world since the 7th century. It happens to be one of the tastiest and most nutritious cereal grains that exists, due to high amounts of B vitamins, magnesium, zinc, phosphorus, and fiber. So if you were thinking that corn is only good to dress a salad or to turn into popcorn for a salty snack, be prepared for a new culinary delight: fresh, whole corn on the cob.
Here are two simple ways to cook corn on the cob that highlight the vegetable’s natural sweetness and crisp texture.
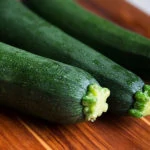
How to Select the Best Corn on the Cob
How can you tell if the fresh ears of corn you’re buying at the store are actually good quality? There are a number of tricks you can try to help you select the best corn for your cooking.
Husk
First, examine the husk. It should be a bright, healthy green color and not dried out or yellow. You also want the husk to be tightly wrapped around the corn.
Tassel
The corn silks that stick out of the top of an ear of corn are called the tassel. They should be a golden color and slightly damp. In contrast, a tassel that’s dark brown or blackening shows that the ear of corn is old.
Also, go ahead and take a whiff. A fresh ear of corn’s tassel will have a sweet smell.
Feel the Corn
You want an ear of corn that feels heavier than it looks. It’s also a good idea to grab and feel the corn from the bottom to the tip. This helps you determine if the kernels inside are plump and ready to eat.
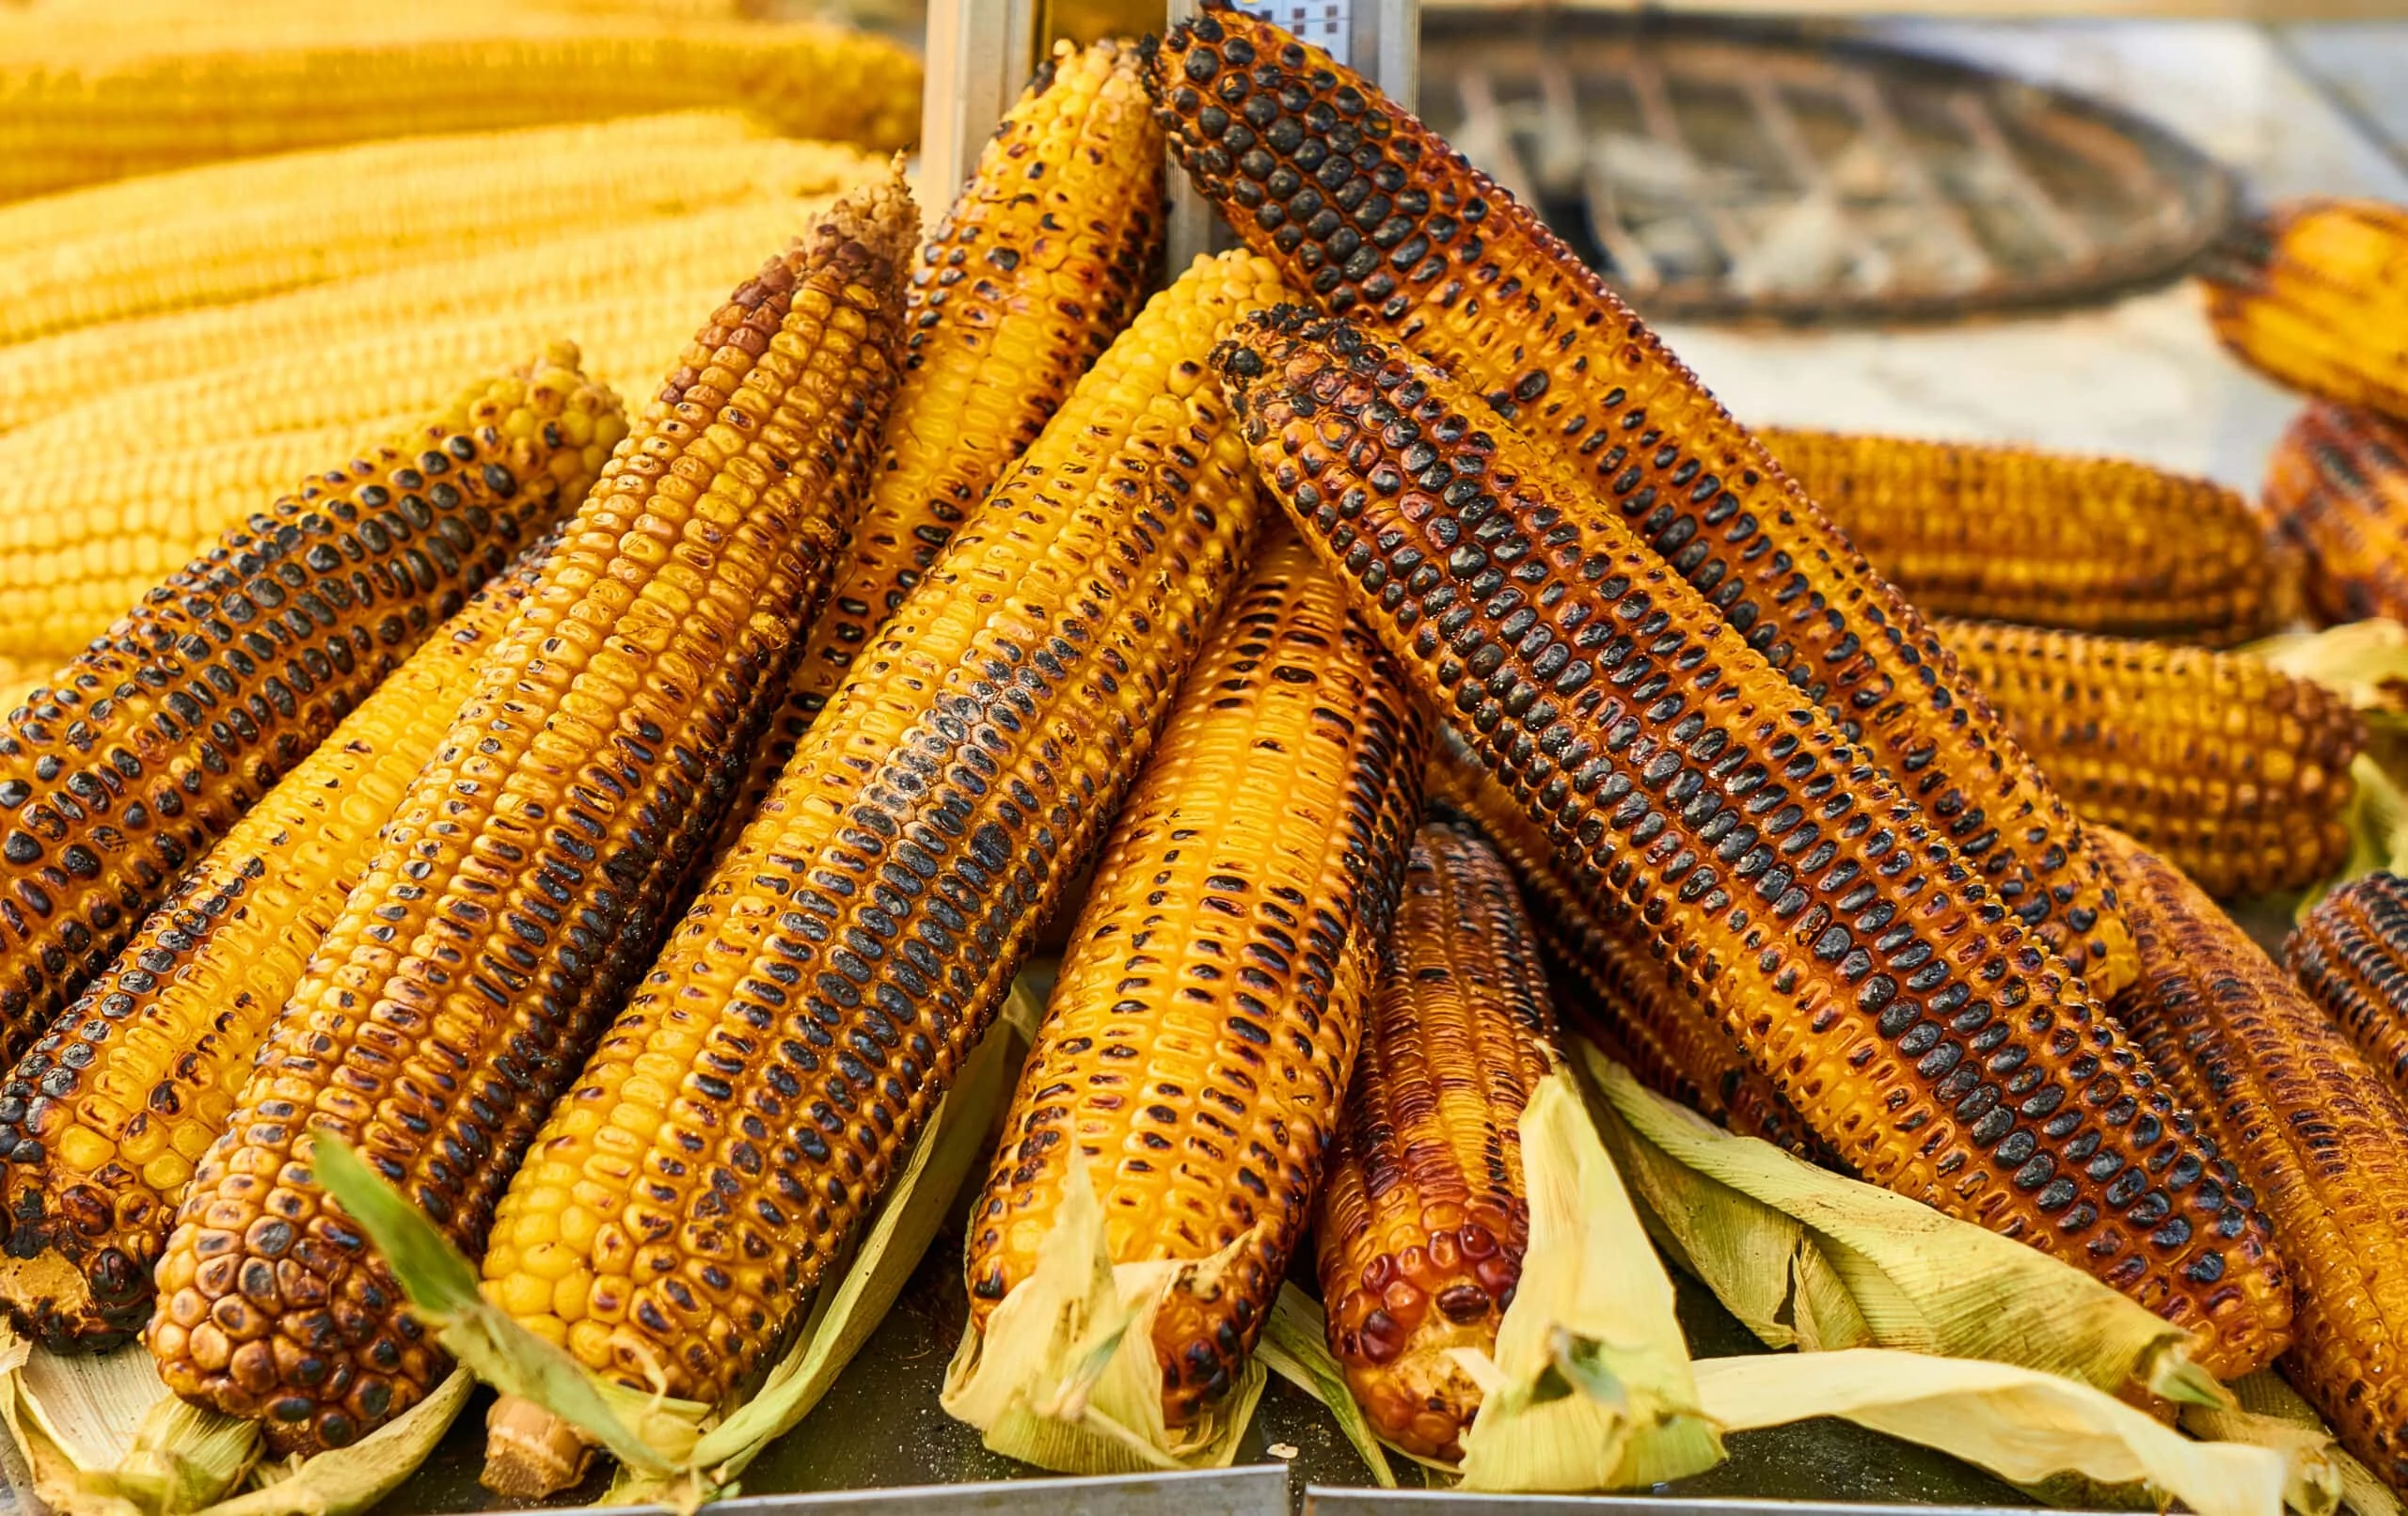
Oven-Roasted Corn On The Cob
Let’s get you cooking! Here is the first recipe: how to cook corn on the cob in the oven. This is perfect for homes without an outdoor grill. You can still enjoy the charred, smokey flavor of roasted corn.
Ingredients
4 ears of corn
Pepper to taste
Salt to taste
1/2 a lemon or lime
1/2 cup of mayonnaise
100 grams of finely grated cheese
1 teaspoon of garlic powder
100 ml extra virgin olive oil
Preparation
This recipe is really simple to prepare; however, there are a few must-do items to ensure your corn comes out perfectly.
Step 1: Preheat the Oven
Begin by preheating the oven to 200°F for at least 15 minutes. During this time, remove the husks from the ears of corn and discard any cornsilk inside.
Step 2: Prepare the Baking Sheet
Next, cover a large baking sheet with aluminum foil. Spread out the hused ears of corn on the prepared baking sheet.
Step 3: Season the Corn
Once the ears of corn are in place, season them with olive oil, pepper, and salt on top. Not too much! Just a pinch of each ingredient to enhance the flavor. Rub the oil and seasoning into all sides of the corn cobs.
Step 4: Bake it All
After that, place the baking sheet in the oven for 25 minutes. If you like a more toasted texture, leave the corn in the oven for longer until you see that it’s to your liking.
Step 5: While it’s Baking, Make the Sauce
While the corn is cooking, prepare the sauce you will put on top. In a small bowl, whisk together 1/2 teaspoon of garlic powder and juice from the lemon or lime in 1/2 cup of mayonnaise.
Step 6: Add the Topping
Finally, remove the corn from the oven, with the help of a kitchen brush, paint the top of the ears of corn with the sauce.
Many people recommend accompanying the ears with a piece of fresh cheese; although, this depends on the tastes of each cook.
And that’s it! You can now enjoy delicious baked corn cooked in the traditional way with a flavorful seasoning.
Corn On The Cob: Mexican Style
If there’s one place in the world where corn is a true tradition, it’s Mexico. Eating ears of corn in this country is not something only enjoyed in the home. The tradition is to walk around the streets of the city and stop to eat a delicious ear of corn from one of the street food stalls that are always open.
Below, we leave you with a delicious recipe you can prepare at home whenever you miss the unique and incomparable taste of Mexican-style corn on the cob.
Ingredients
4 ears of corn
Mayonnaise
Chili powder
Salt to taste
4 Skewers to stick the corn on to eat it easier
High-quality grated cheese such as queso fresco
Preparation
Now let’s go ahead and cover the second way to cook corn on the cob. You’ll enjoy the zesty, rich taste and how easy it is to make!
Step 1: Cut the Corn
In this recipe, the first thing we must do is to cut the ears of corn into two or three pieces.
Step 2: Turn on the Oven
Next, preheat the oven to 200°F for 15 minutes. In the meantime, cover a baking sheet with aluminum foil.
Step 3: Put the Corn on the Baking Sheet
Place your ears of corn on the baking sheet before dressing them with a splash of olive oil, butter, and salt to make them brown better. Rub the corn to coat in seasoning on all sides.
Step 4: Bake the Corn
Place the sheet in the oven and bake for 25 minutes. This recipe is characterized by letting the cobs become quite brown, so the browner they are, the better.
Step 5: Skewer the Corn
Once they are made, stick them with a skewer lengthwise and paint them with abundant mayonnaise.
Step 6: Add Seasonings
Finally, pour a lot of grated cheese over it, and give it a little spicy touch with chili and salt.
And that’s it! We now have our delicious ears of corn ready in Mexican style!
In conclusion, all you need to make mouthwatering corn on the cob is to buy good, fresh ears of corn, bake them with oil and salt and pepper, and then finish by seasoning them.
You can use these two simple recipes to start enjoying one of the tastiest and most nutritious foods there is. Don’t hesitate to use them this next summer or whenever you want to cook something that gives you those summer vibes!
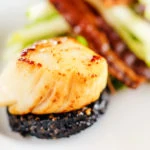
What to Serve with Roasted Corn on the Cob
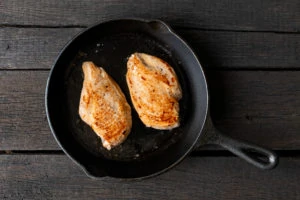
To complete your summery meal, serve your oven-baked corn on the cob with Pan-Seared Halibut, or Kielbasa.
Corn on the Cob in the Oven
Equipment
- Baking sheet
- Alumium foil
- pastry brush
- Small bowl
Ingredients
- 4 ears of corn
- Pepper to taste
- Salt to taste
- 1/2 a lemon or lime
- 1/2 cup of mayonnaise
- 100 grams of finely grated cheese
- 1 teaspoon of garlic powder
- 100 ml extra virgin olive oil
Instructions
- Husk the ears of corn.
- Preheat the oven to 200°F. Line a baking sheet with tin foil.
- Place the corn on the baking sheet and drizzle with olive oil. Sprinkle with salt and pepper and coat the corn in the seasoning. Roast for 20 minutes, or until crisp-tender.
- Combine the remaining ingredients in a small bowl.
- When the corn is done, remove it from the oven and coat the ears of corn in the sauce. Serve warm