From making some perfectly fluffy eggs to expertly whipped cream, there’s a ton of amazing things your whisk can do! A whisk is a great tool to use in the kitchen and can bring out new textures and tastes in your foods.
If you’ve never used a whisk before or want to find new ways to use the whisk you own, let us help you! Here are different ways to use a whisk that any home cook or chef can enjoy.
What Is a Whisk Used For?
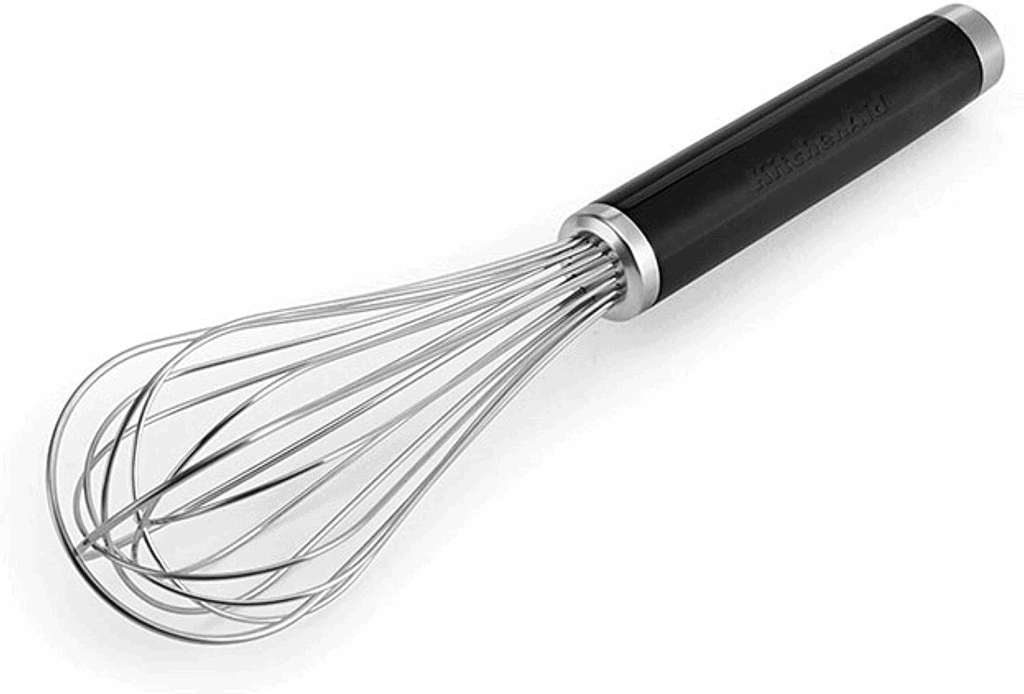
A whisk is a kitchen utensil used to mix ingredients together while adding air to the mixture. The act of mixing plus aeration is called whisking—the technique this tool is known for.
Whisks can do more than whisking. They’re also great for emulsifying mixtures and any general stirring you need done. All ingredients, wet and dry, are typically easy mixing work for a whisk.
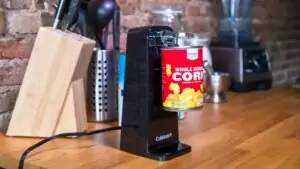
BUY HERE
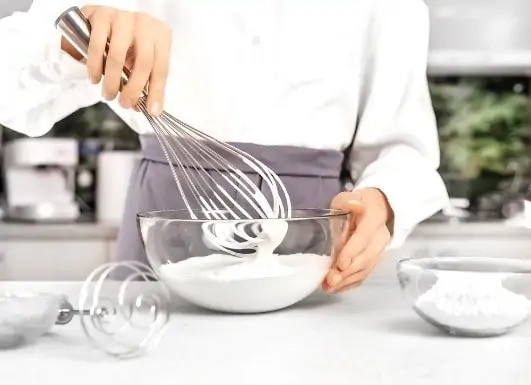
How to Whisk
There are many different ways you can approach whisking, depending on what you’re trying to do. In general, though, there are three approaches you can take when using a whisk.
Side Whisking
Side whisking is the easiest way to incorporate ingredients using a whisk. You do exactly what it sounds like: put the whisk into your mixture, and move it side to side. Ingredients should pass through the whisk and incorporate quickly. Side whisking in your mixing bowl is great for scrambled eggs and helps add some air and volume for fluffier eggs.
Circular/Stirring Whisking
This method is also performed exactly how it sounds! This type of whisking happens when you move your whisk in a circle to incorporate your ingredients.
Beating Whisking
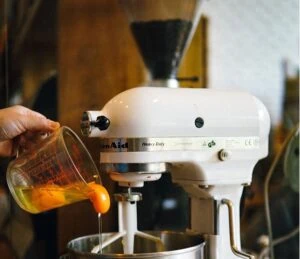
With this movement, the whisk truly shines. When you want to “beat” something with a whisk, you will whisk your mixture in a diagonal lifting motion. Doing this quickly incorporates air into your ingredients while mixing, giving the fluffiness you’re looking for when whisking. Many people often also use a stand mixer with a whisk attachment for this kind of whisking.
How to Whisk Eggs
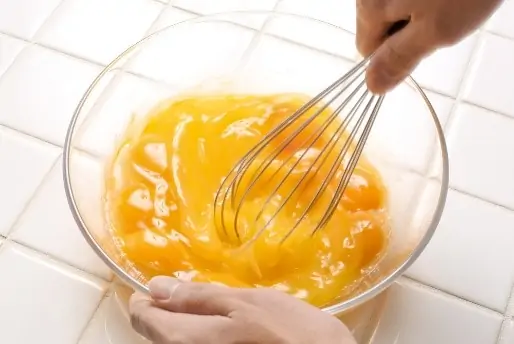
Now that you have some basic techniques down, let’s explore more specific types of whisking. This is how to perfectly whisk scrambled eggs:
Step One: Prep Your Eggs
First, crack your eggs into a bowl for mixing. For best results, your eggs should be at room temperature.
Step Two: Grab Your Whisk
Next, you’ll want to hold your bowl steady with your left hand, tilting it slightly towards you. Hold your whisk in the right hand.
Step Three: Whisk Your Eggs
Then, it’s time to whisk! Using a dragging motion, move your whisk side to side, agitating the liquid. Try to whisk in a way where your whisk doesn’t touch the bottom of the bowl.
Step Four: Continue Until Finished
Whisk until your eggs are nice and aerated! They should be pale yellow in color.
How to Whisk Egg Whites
Whisking egg whites is often necessary for baking things like a souffle or a delicious meringue. Here’s how to get perfect, foamy peaks whenever whisking egg whites.
Step One: Separate Your Eggs
First, you’ll want to separate your eggs from the egg whites. Make sure your eggs are room temperature. If you want your peaks to be as stiff as possible, do this into a copper bowl.
To separate eggs, gently crack your eggs into two halves, not breaking the egg yolk. Then, to separate the egg yolk, you can gently pour the yolk back and forth into the different halves of the shell, letting your whites fall into the bowl.
Alternatively, you can also crack the eggs into your upturned hand to gently catch the egg yolk and let the egg whites go into the bowl through your fingers.
Step Two: Whisk Your Eggs
Once you have your egg whites in the bowl, put your whisk into the bowl. Holding it steady, move your whisk in a dragging motion side to side until the eggs get foamy. Avoid letting the whisk touch the bottom of the bowl.
Once foamy, switch to a more circular motion, spinning and lifting the whisk out of the mixture.
Step Three: Stop When Stiff
Continue to whisk your eggs until they form stiff peaks! Your peaks are stiff when you can remove your whisk from the mixture, turning it upside down, and the “peak” the egg whites make on the whisk holds its shape. This guide here can teach you more about how they should look.
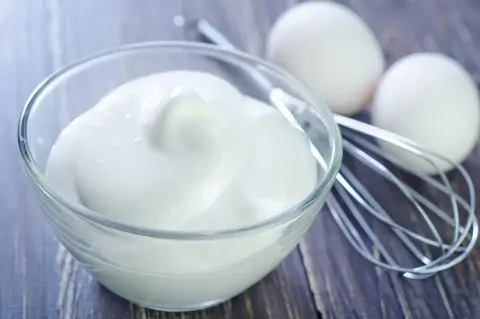
How to Whisk Whipped Cream
There’s something to be said about whipped cream made by hand! Here is how to whisk whipped cream.
Step One: Pour Cream Into Bowl
First, pour heavy cream into a bowl. You’ll want to use actual whipping cream or heavy cream, and it should be cold from the fridge.
Step Two: Start to Whisk
Then, it’s time to whisk! Start slow, stroking in a circular motion. Continue until the cream begins to thicken.
Step Three: Whisk Harder and Add Flavor
Once your cream begins to thicken past the liquid stage, stir more vigorously! At this point, you can also add any sweeteners, such as vanilla.
Step Four: Whisk Until Complete
Continue to whisk until your cream is nice and stiff in texture!
How to Clean a Whisk
A clean kitchen is a happy kitchen! Here’s how to keep your whisk in top shape with proper cleaning:
Step One: Fill a Bowl With Water and Soap
First, fill a bowl with hot water, and add 1-2 tablespoons of soap. The bowl should be large enough to submerge the head of the whisk
Step Two: Stir the Whisk
Next, submerge the head of your whisk in the bowl, and begin to stir. Stir until all food particles are gone from the whisk wires. If needed, you can leave the whisk submerged in the water overnight to fully loosen the food.
Step Three: Rinse and Wash
Remove the whisk from the soap bath. At this point, food stuck in the wires should be loose and free. You can now wash the handle and wires again by hand or throw your whisk in the dishwasher.